Homepage › Forums › Articles › Graphics and Graphical Design › Auto-CAD: Home and Furniture
Tagged: autocad, cad, graphics, rendering, sweethome3d
This topic was published by DevynCJohnson and viewed 1918 times since "". The last page revision was "".
- AuthorPosts
Linux has many 3D graphic designs applications. One of the easiest to use is SweetHome3D. This is a Java-based program that is cross-platform. This means you can run it on any system that supports IcedTea/OpenJDK or Java Runtime (by Oracle). SweetHome3D is not a general auto-CAD application. Instead, it contains ready-made furniture and various items that are used to furnish and design a house. Graphic designers can design objects in Blender and then import the objects via many file formats. In SweetHome3D, a graphic designer can design a room or a complete house and take pictures of the interior to make wallpapers for desktops of images for numerous purposes. These houses and furniture can also be imported into Blender.
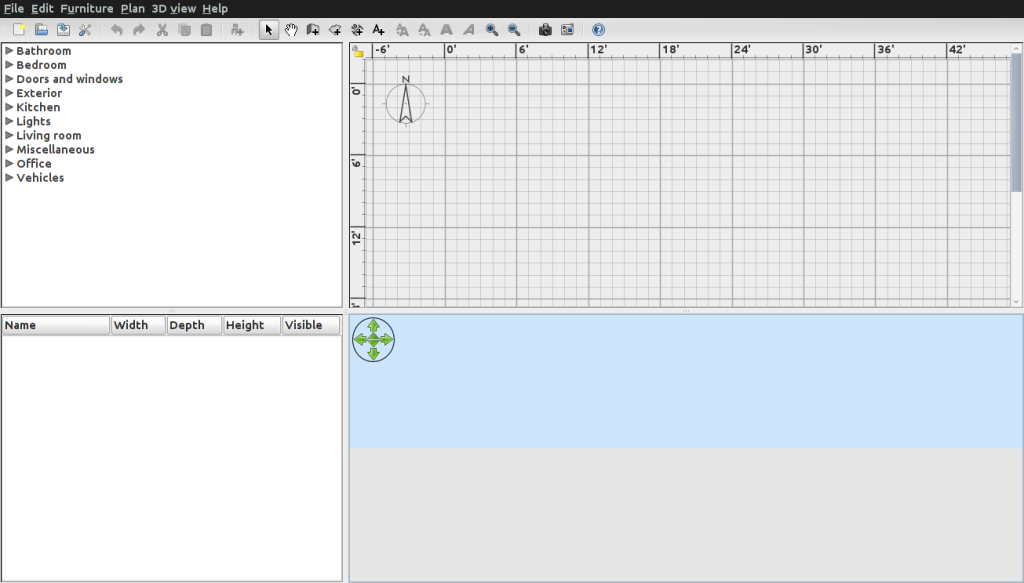
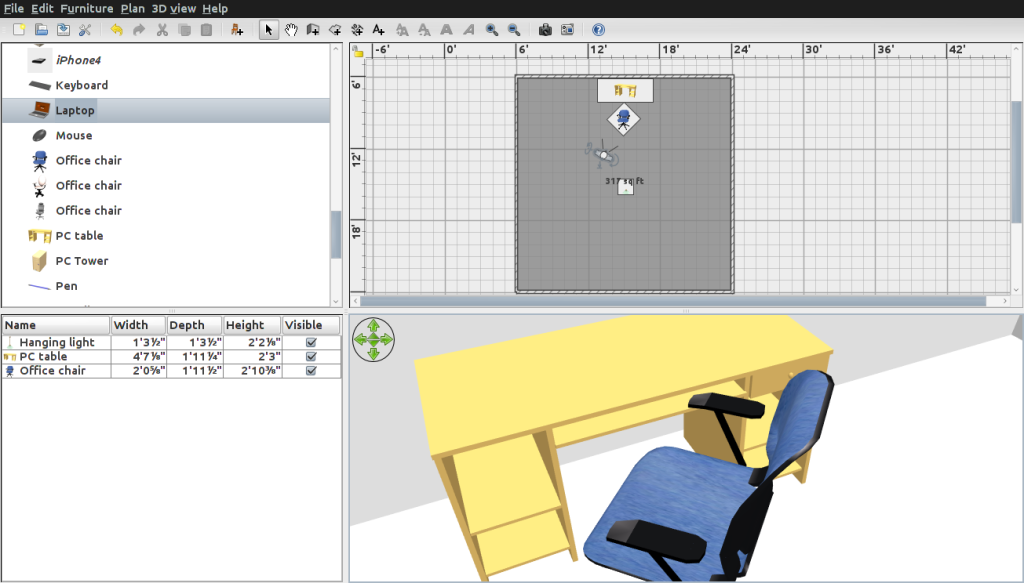
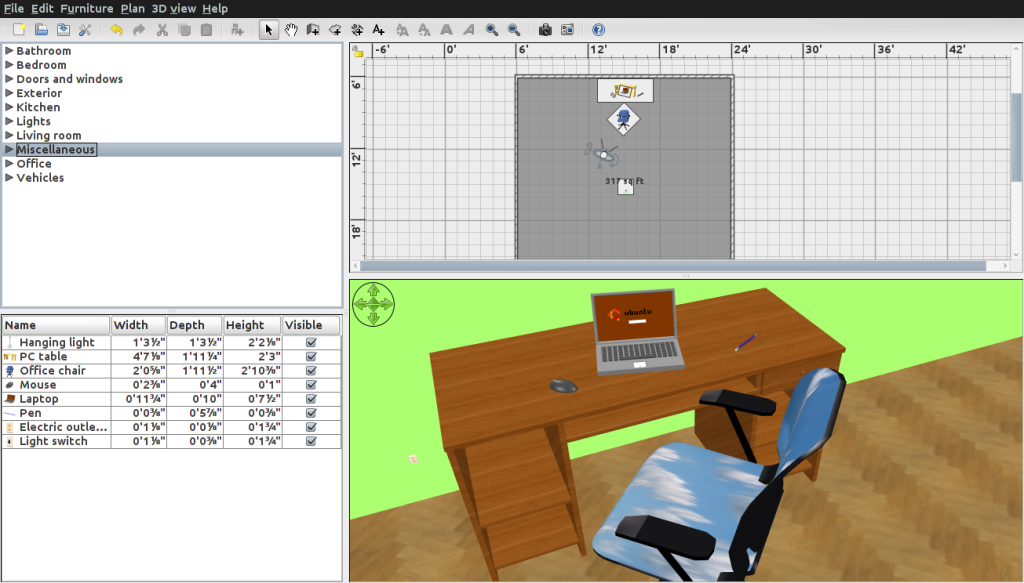
The layout is simple. The 2D aerial view screen is where objects are drug and dropped. The 3D screen allows graphic designers to see the rendered image. However, this rendered view is not as high-quality as the actual rendering that the user can execute when their design is complete.
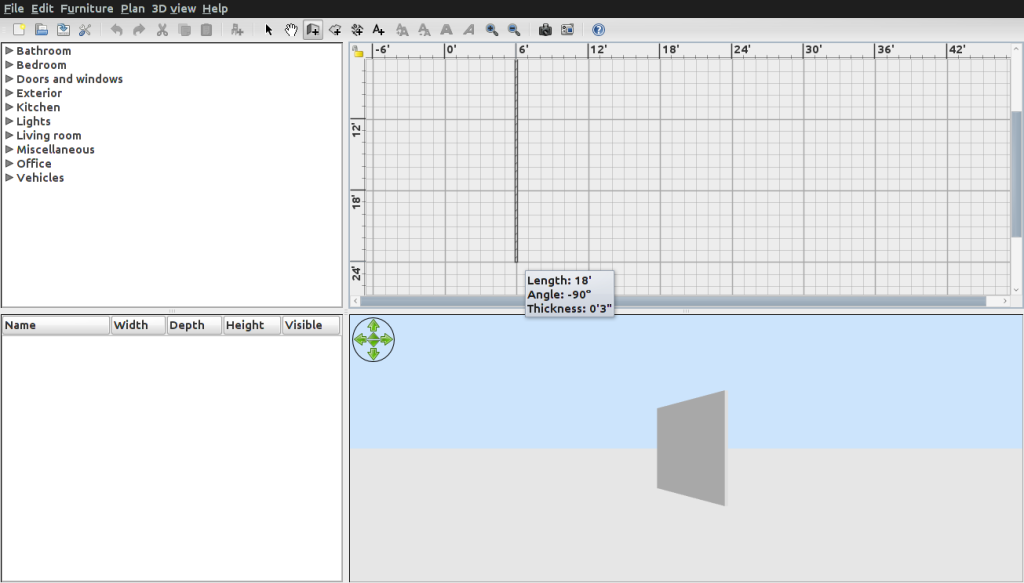
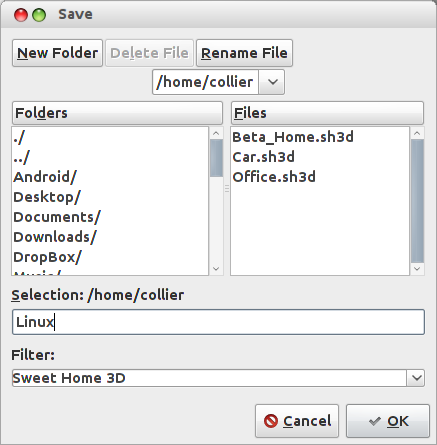
First, click the "Create Walls" button and make the walls for a room using the 2D view window. Once the walls have formed an enclosed space, press the escape key to exit the wall-making-mode. Now, we need to define the room. Press "Create Room" and click each corner going from one corner to the next nearest going along the wall, otherwise this shaded layer will get twisted. When clicking a corner, move the cursor until a large circle with lines through it appears. This means the cursor is right on the corner. If a user clicks near a corner, then a small space will exist between the wall and the floor. Once the floor is set, press the escape key. Now would be a good time to save your progress.
On the side of the screen is a window with words like "bedroom", "bathroom", etc. To make a light, click "Lights". Select a light and place it in your room. Hanging lamps automatically go on the ceiling without the user needing to add special parameters. Drag and drop the light source into the room and drag the light to the place you want.
Now, we need doors and windows. First, click "Doors and Windows", then select "Door Frame". Drag the door frame to a place on the wall that needs a door. Then, select and drag a door to the frame. Notice that the dimensions shown in the created object list shows the door and door frame with different dimensions. Usually, SweetHome3D will change the dimensions to make the door fit in the frame. If not, adjust the measurements. The depth should be different because not all doors are as thick as the wall, but you can make it that way if you want. After the doors are placed and adjusted, we can make windows. Windows are made just like doors; pick a window and drag-and-drop on a wall. Because the window allows us to see outside, you may want to add some scenery outside th window. Otherwise, a picture of the interior with a window in the background would show a void outdoors.
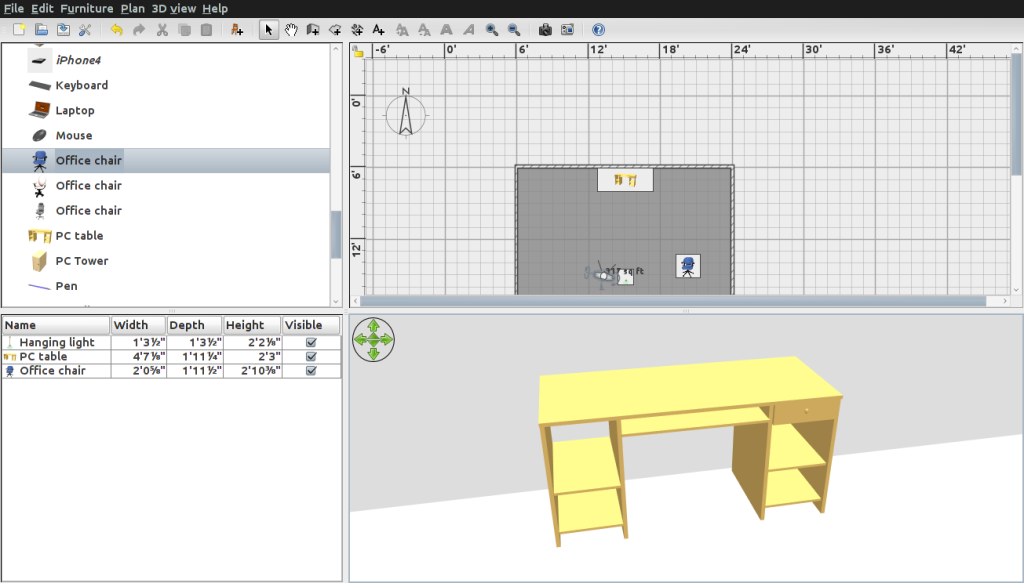
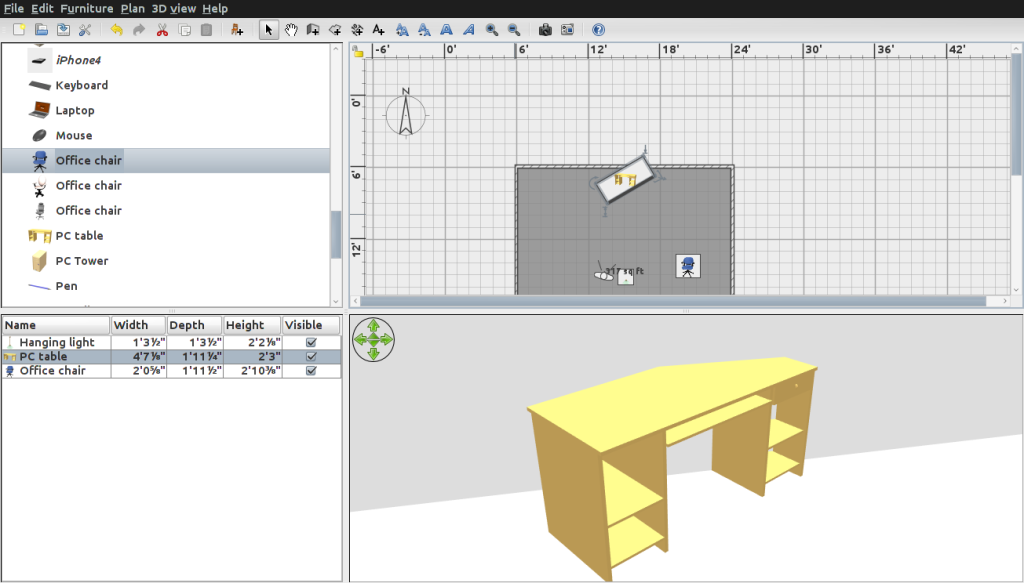
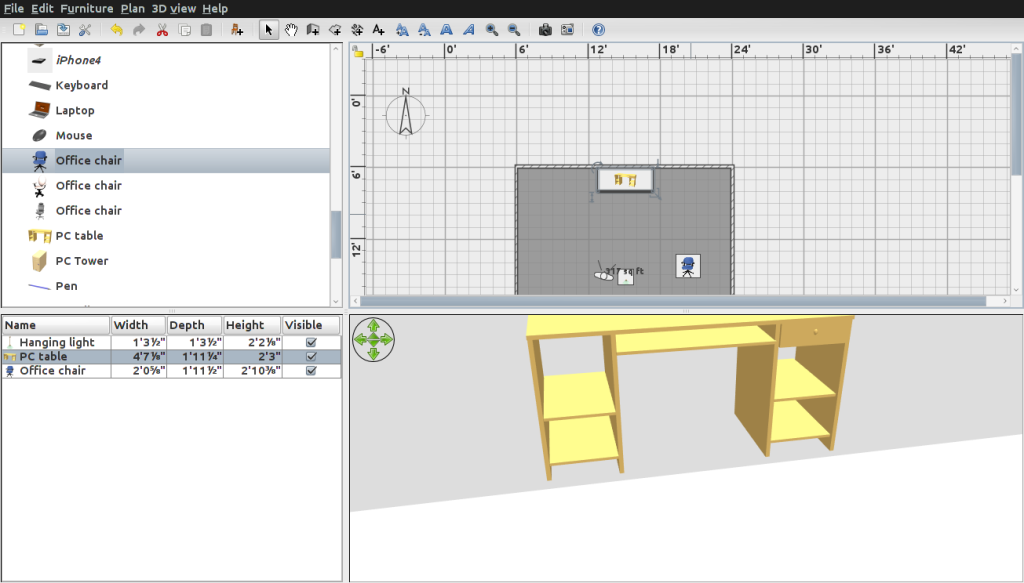
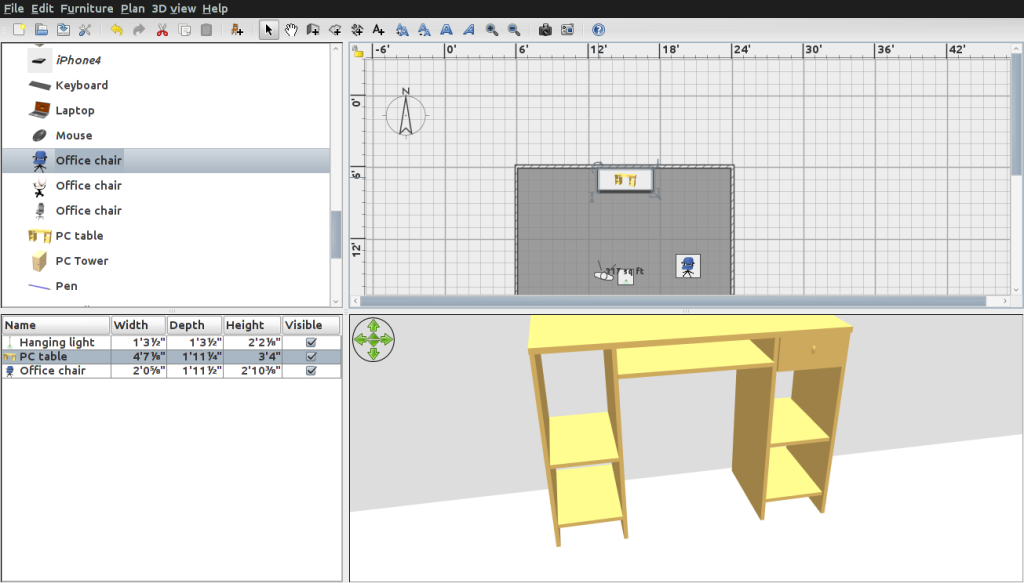
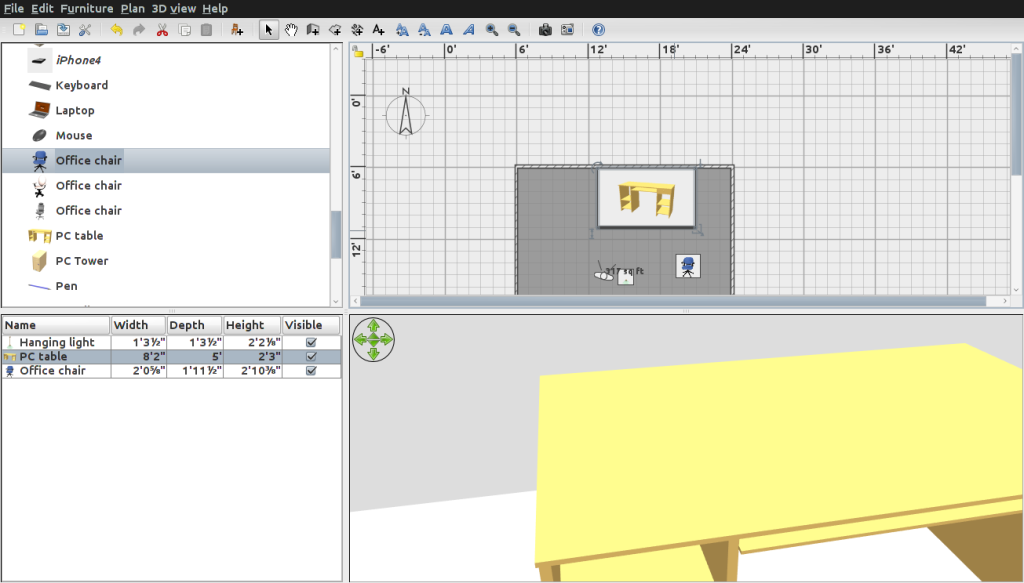
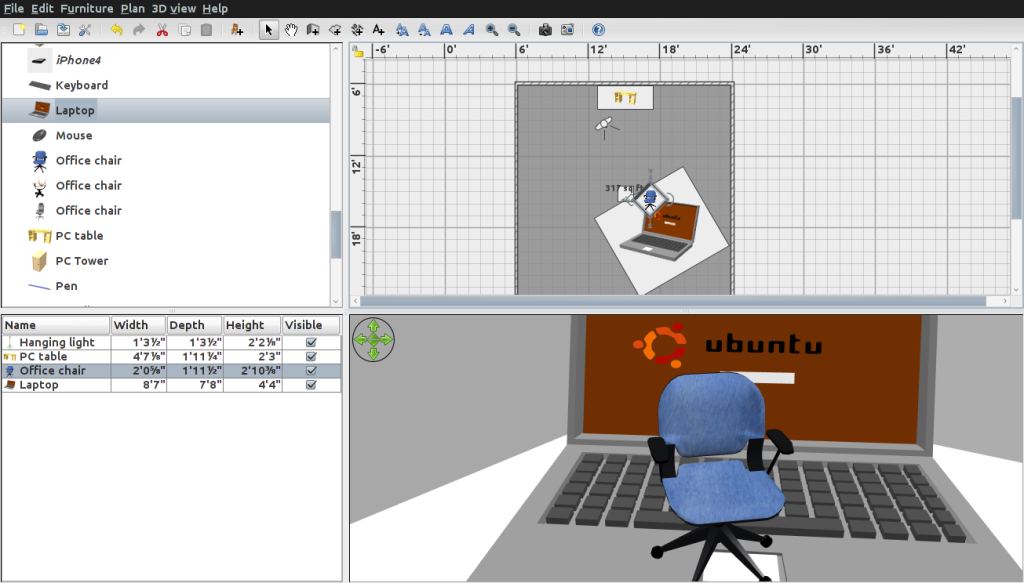
Under "Office", we will get a desk or PC table and place it in the room. When placing furniture up against the wall, they will automatically be rotated to face away from the wall. On each corner of all furniture is one setting/tool per corner. The settings/tools include rotation, elevation, size, and height. This will allow you to angle/rotate, lift/levitate furniture, resize the furniture along the X/Y coordinates, and change height. The elevation would also be used to set furniture on other furniture. These settings can be used to make some weird effects.
TIP: If you have troubles adjusting the four mention settings, you can adjust them in the window on the side of the screen with the list of current furniture. This window will contain measurements. In this menu/list, you can right-click a piece of furniture and select "Modify Furniture". Here, you can control other options including angle.
I will add an office chair and place it in front of the desk. Using one of the tools in the corner of the chair's placement box, I rotated the chair to face the desk.
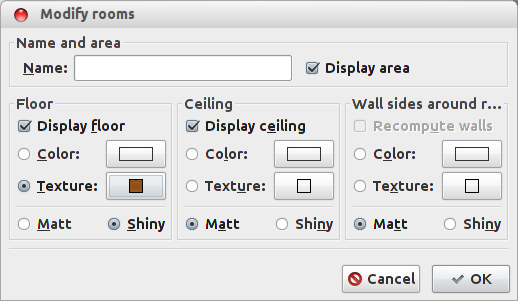
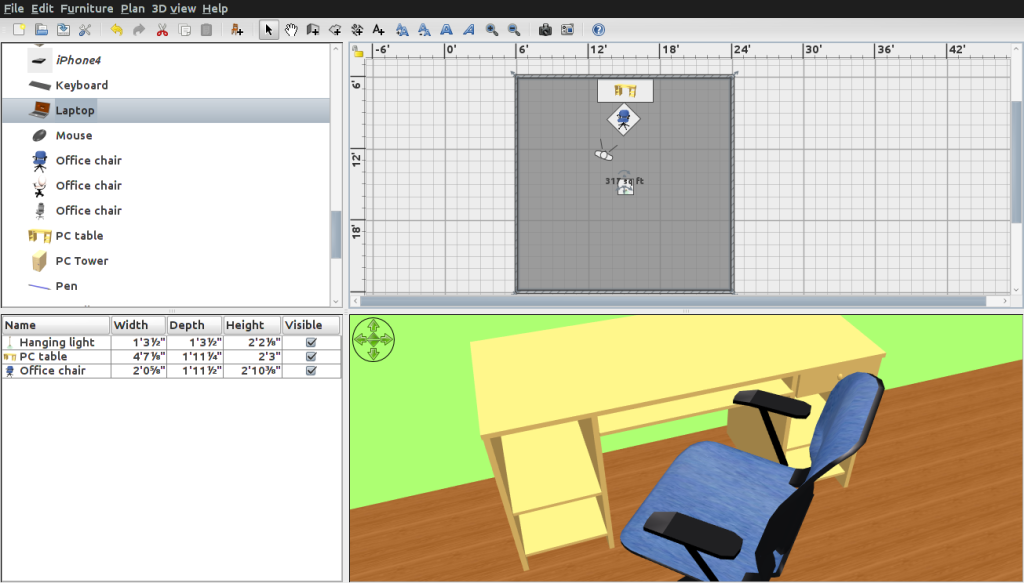
In the 2D view, right click the floor and select "Modify Rooms...". A window will come up that will allow us to change the way the walls, floor, and ceiling look. For the floor, I will make it a shiny wood (use textures for designs). The ceiling will be a shiny white. The walls will be made a matt green.
Depending on the desk you chose, the texture may not be what you want it to be. To change the desk's texture, right-click the desk in the 2D view and select "Modify Furniture". Next, change the settings to get the desired look.
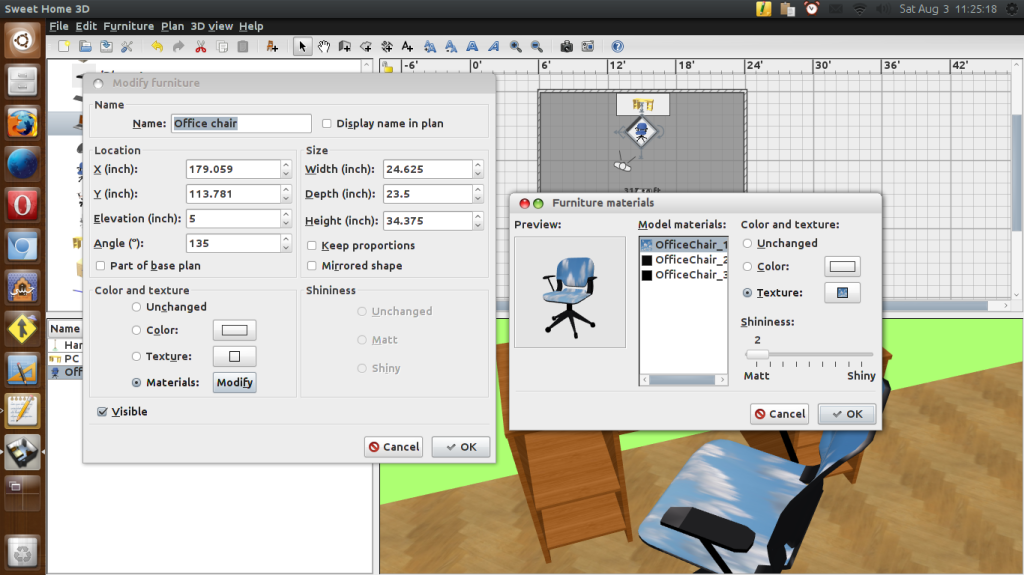
For the chair, you may want different cushions. To change this, go the the settings for the chair like you did for the desk. In the settings, modify the "Materials". Click the item in the list that controls the cushions. Here, you can change the look of the cushions.
Now, we will place items on the desk. To do this, look for small items like a mouse and a laptop. Drag and drop these objects on the desk (still using the 2D viewer). They should form on the desk. If they do appear under the desk, then use the elevation tool to move the item from the floor to the desk.
The best way to make the arrangement of items appear more real, angle some of the objects slightly so that all of them are not straight and perfect.
Under "Miscellaneous", we can find a power outlet to place on the wall for extra detail. With all of these categories, a complete house can be furnished with a full set of furniture. Sinks, toilets, and bathtubs can also be added. Pictures and other wall-hangings automatically placed on the wall.
This application can even create some outdoor scenes, although this set of features is not as developed as the interior furniture. The main point of the outdoor objects is to have some decoration for outside when a window is in the picture/video. A roof cannot be made, at least in version 4.1 - the latest version at the time this article was written.
If more items are needed, graphic designers can make objects in Blender and import them to SweetHome3D. Even easier, designers can go to some websites to download legally free objects. Some may be licensed under GPL, Public Domain, Creative Commons, or some other license that permits free use.
Models
- http://www.sweethome3d.com/importModels.jsp
- http://telias.free.fr/models_wavefront_menu.html
- http://www.flyingarchitecture.com/
- http://www.turbosquid.com/Search/3D-Models/free/obj
- http://www.3dm3.com/modelsbank/ - (contains some restricted licenses)
Textures/Materials
- http://blender-archi.tuxfamily.org/Textures
- http://matrep.parastudios.de/
- http://www.blender-materials.org/
To make an image for a wallpaper, click "3D View -> Create photo". For version 4.1, this application will crash on most systems when that is tried. Users could take a picture via screenshot with the 3D view in a separate window (3D View -> Display in separate window). Graphic designers can then post their wallpapers on Gnome-Look.org or some other wallpaper website.
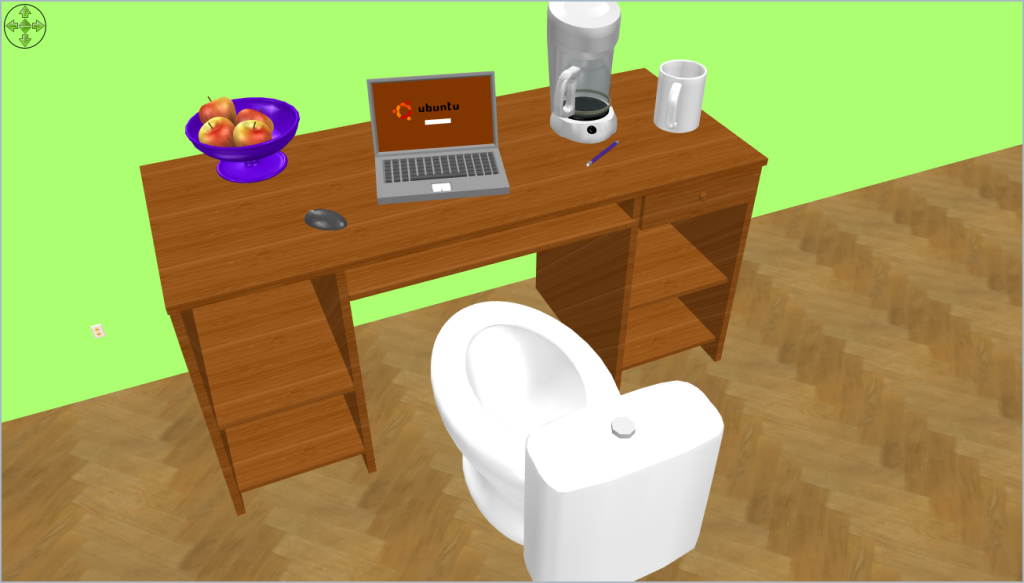
With some practice and imagination, graphic designers can create some interesting designs and images. The image below showing the best programmer's office.
- AuthorPosts

